Insert the Microsoft Visual Basic 6.0 Professional Edition 1st install CD into the CD-ROM drive.

Click the Next button after clicking the View Readme button if you wish.
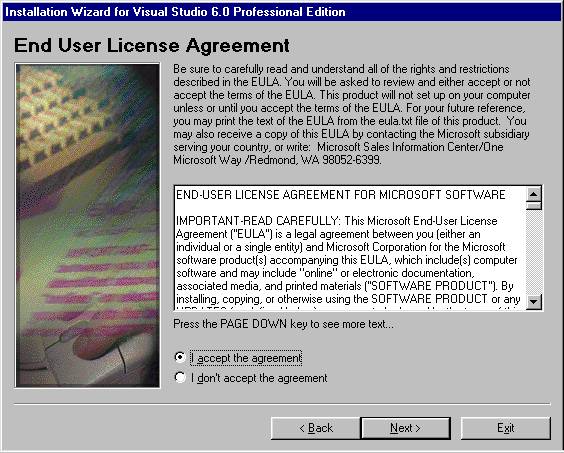
Use the scrollbar to view the license agreement, click the I accept the agreement option button, then click the Next button.

Enter the 10 digit product ID number found on the white label provided with your install CD's, enter name in the Your name: text box, enter Northern Kentucky University in Your company's name: text box, click the Next button.
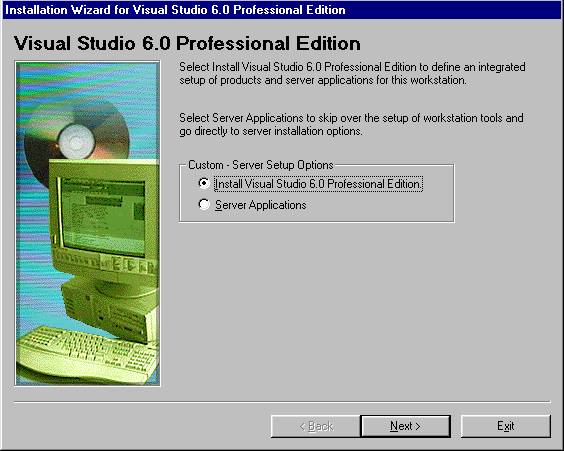
Make sure the Install Visual Studio 6.0 Professional Edition option button is selected and click the Next button.
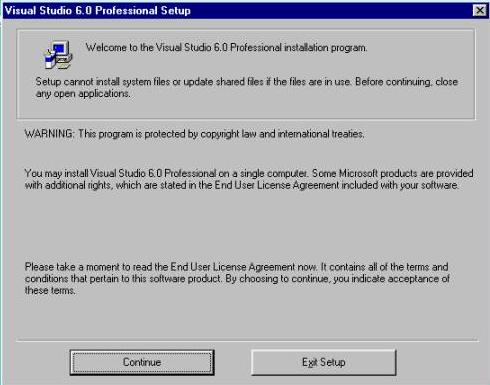
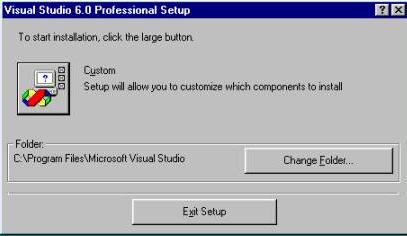
Click the Continue button.
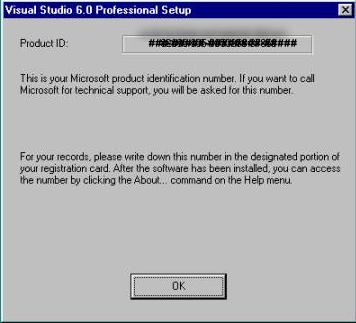
Write down the Product ID: number and put it away for safe keeping, then click the OK button.
Click the Custom command button, to install Visual Basic into the path listed on the dialog box above.
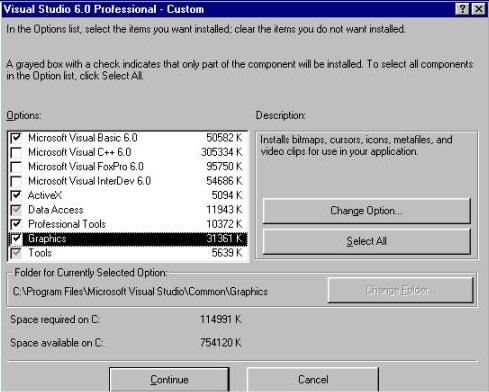
Click the Graphics check box as indicated above, also remove the checks from the boxes listed above unless you want to install this software. It will not be needed for IFS 110 class.
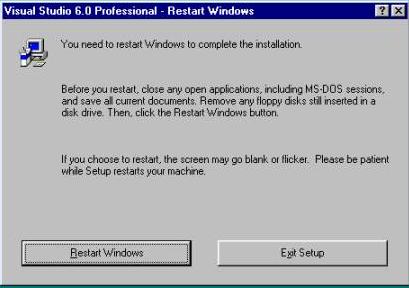
Click the Restart Windows button to complete the installation process. After rebooting the following dialog box will display. You can not install the MSDN library unless you have the 2 MSDN library CD's. They are separate CD's.
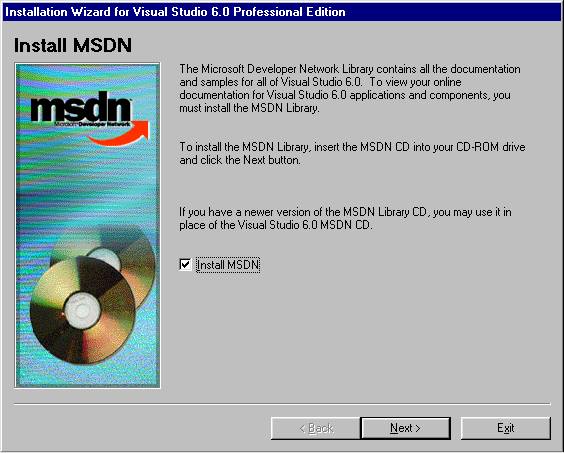
Make sure the Install MSDN check box is checked and click the Next button.
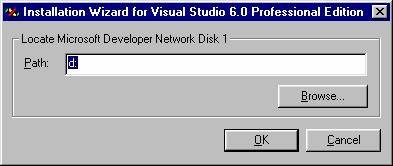
Insert the MSDN Library Disk 1 into your CD Drive and click the OK button.
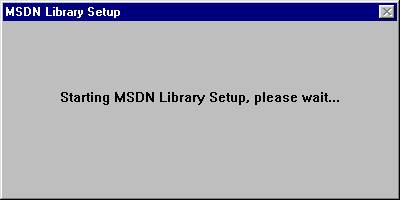
The MSDN Library Setup dialog box above displays.
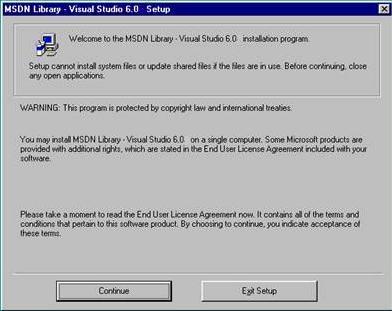
The following dialog box displays as MSDN Library Setup begins, click the Continue button.
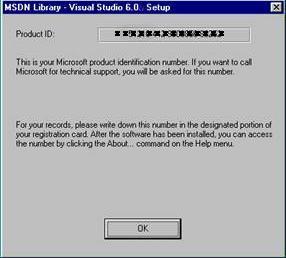
Write down the Product ID: number and put it away for safe keeping, then click the OK button.
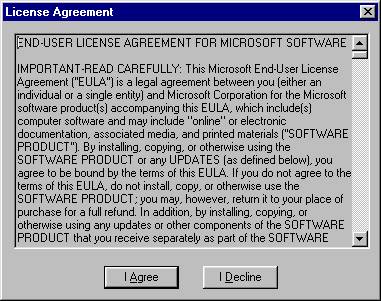
Click the I Agree Button.
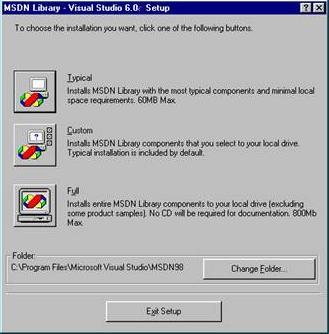
Click the Custom button.
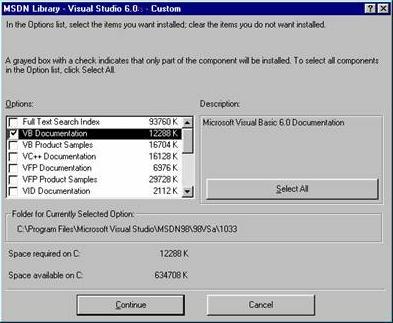
Check the VB Documentation check box, then click the Continue button.
The following dialog box will display indicating your progress.
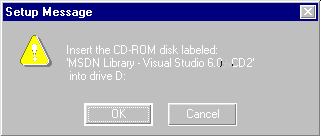
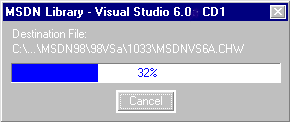
Insert the MSDN Library Disk 2 into your CD Drive and click the OK button, the dialog box below displays.
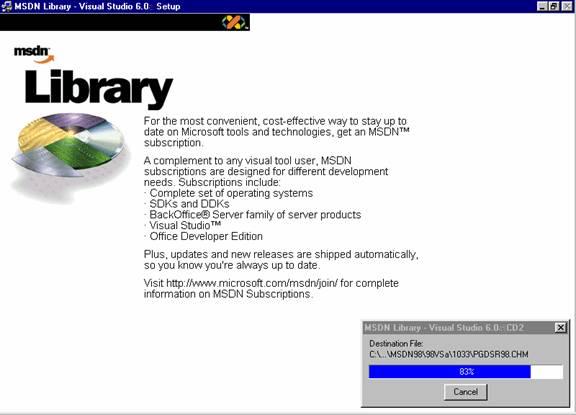
The following dialog box will display indicating your progress after the 2nd CD has been inserted.
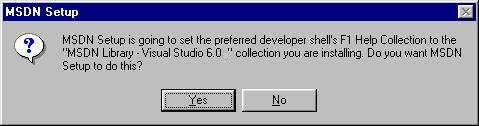
When the progress bar reaches 100% done the following message box will display, click the Yes button.
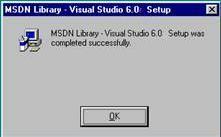
The following dialog box will display indicating MSDN Library has been installed successfully! Click the OK button
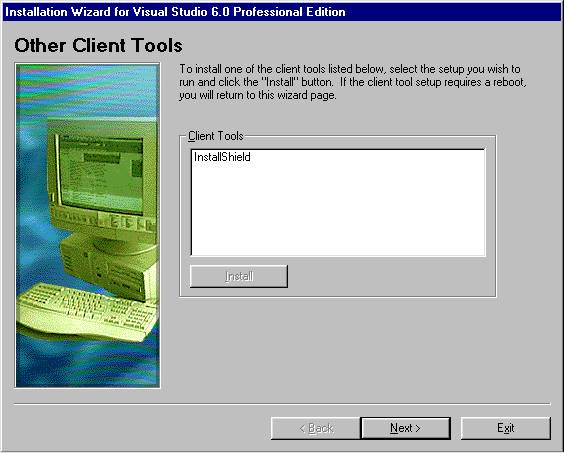
Click the Next button, you will not need the InstallShield software.
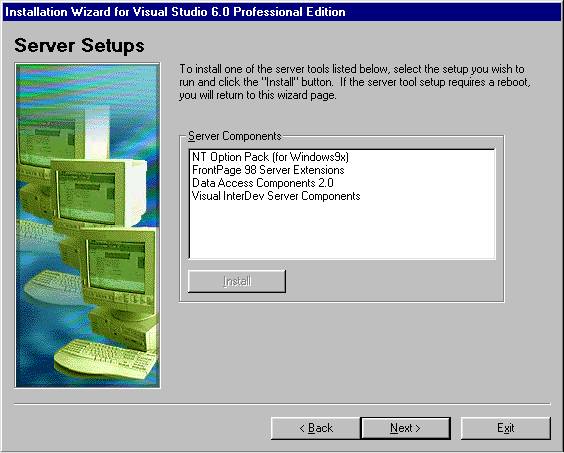
Click the Next button, you will not need the Server Setups software.

Uncheck the Register Now check box and click the Finish button. The only advantage to register is to get updates from Microsoft and they must come through the college.
Crystal Reports Install Instructions:
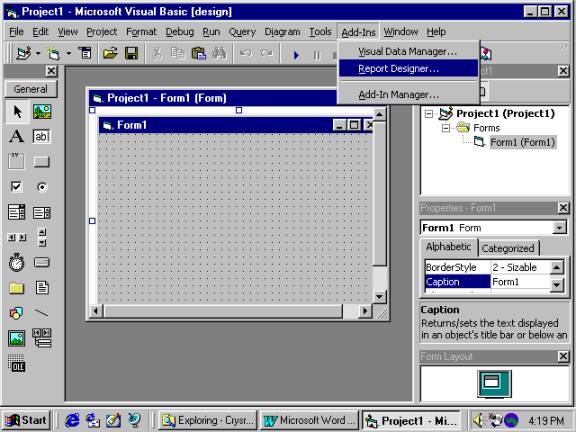
Crystal Reports does not automatically install with Visual Basic 6, you must install it manually. If Crystal Reports is not accessible through the Report Designer menu on the Add-Ins menu, it is not installed. Insert the Microsoft Visual Basic 6.0 Professional Edition 2nd install CD into the CD-ROM drive.
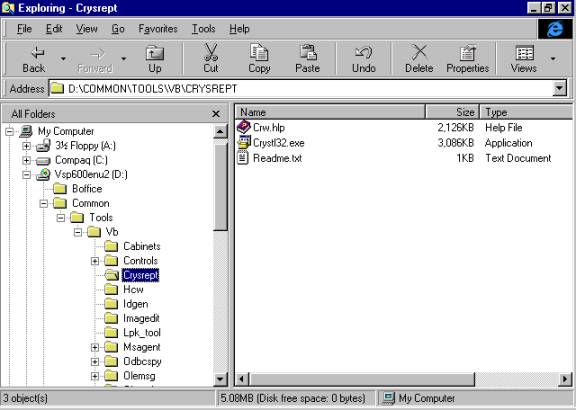
To install Crystal Reports execute the file Crystl32.exe by double-clicking on it in Windows Explorer after navigating to the following path Common\Tools\VB\CRYSREPT folder on the 2nd installation Microsoft Visual Basic 6.0 Professional Edition CD. (See the figure listed above as guidance to set the correct path to the file in Windows Explorer if necessary.) After double-clicking on the Crystl32.exe file the following message will display.
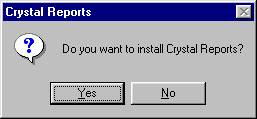
Click the Yes button.
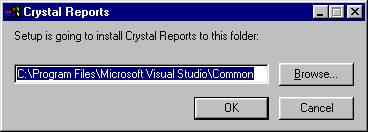
Click the OK button.
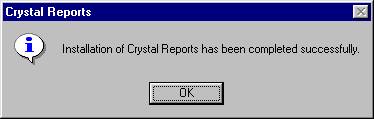
Click the OK button.
Open up Visual Basic, the Report Designer menu should now appear in the Add-Ins menu. Clicking on this menu will lead you into the Crystal Reports software module. See the screen-shot listed below to see an example of Add-Ins menu with Crystal Reports installed correctly.